Table of Contents
ToggleA gallery wall transforms a blank expanse into a curated statement, one that tells your story without saying a word. Whether you’re displaying family photos, abstract prints, or a mix of artwork and objects, a well-planned living room gallery wall serves as both focal point and conversation starter. Unlike generic wall décor, gallery walls demand intention: the right layout, frame choices, and installation technique make the difference between “I threw some pictures on the wall” and “this space feels intentional.” This guide walks you through the entire process, from conceptualizing your style to hanging the last frame with confidence.
Key Takeaways
- Living room gallery wall ideas come in two main styles—classic grid layouts for symmetry or eclectic asymmetrical arrangements for collected, intentional energy.
- Successful gallery wall planning requires precise measurement and templating before installation; sketch arrangements to scale on graph paper or use kraft paper cutouts to eliminate guesswork.
- Mixing frame finishes and colors works when unified by consistent matting (white or cream) and limiting your palette to two or three frame finishes for visual cohesion.
- Center your gallery wall arrangement at 57 inches from the floor to match average eye level, and always secure frames with hardware rated for their specific weight to prevent accidents.
- Objects and shadow boxes add three-dimensional depth that flat art alone cannot achieve, elevating gallery walls beyond simple photo displays.
- Install anchors into studs when possible and use toggle bolts or heavy-duty plastic anchors for drywall; never use command strips for frames heavier than 5 pounds, as they fail silently under excess weight.
Choosing Your Gallery Wall Style and Layout
Your gallery wall’s success hinges on deciding what you want it to communicate. The layout you choose shapes how viewers perceive the entire arrangement, and it directly influences how much planning you’ll need before picking up a drill.
Classic Grid Layouts for Symmetry and Balance
A grid layout is the workhorse of gallery walls. Frames sit in neat rows and columns, creating visual order and calm. This style works especially well in traditional or mid-century modern living rooms, where symmetry feels at home. A 3×3 grid (nine equal frames) or a 2×4 arrangement (eight frames in two rows of four) offers predictability without monotony.
Grid layouts demand precision during installation. You’ll measure once, twice, and three times to ensure frames align perfectly. The payoff: they’re forgiving in the long run because the eye expects uniformity, so minor variations go unnoticed. Choose uniform frame sizes and mat widths to maximize this effect. If all frames are 11×14 inches with 2-inch mats, your planning becomes straightforward arithmetic.
Eclectic and Asymmetrical Arrangements
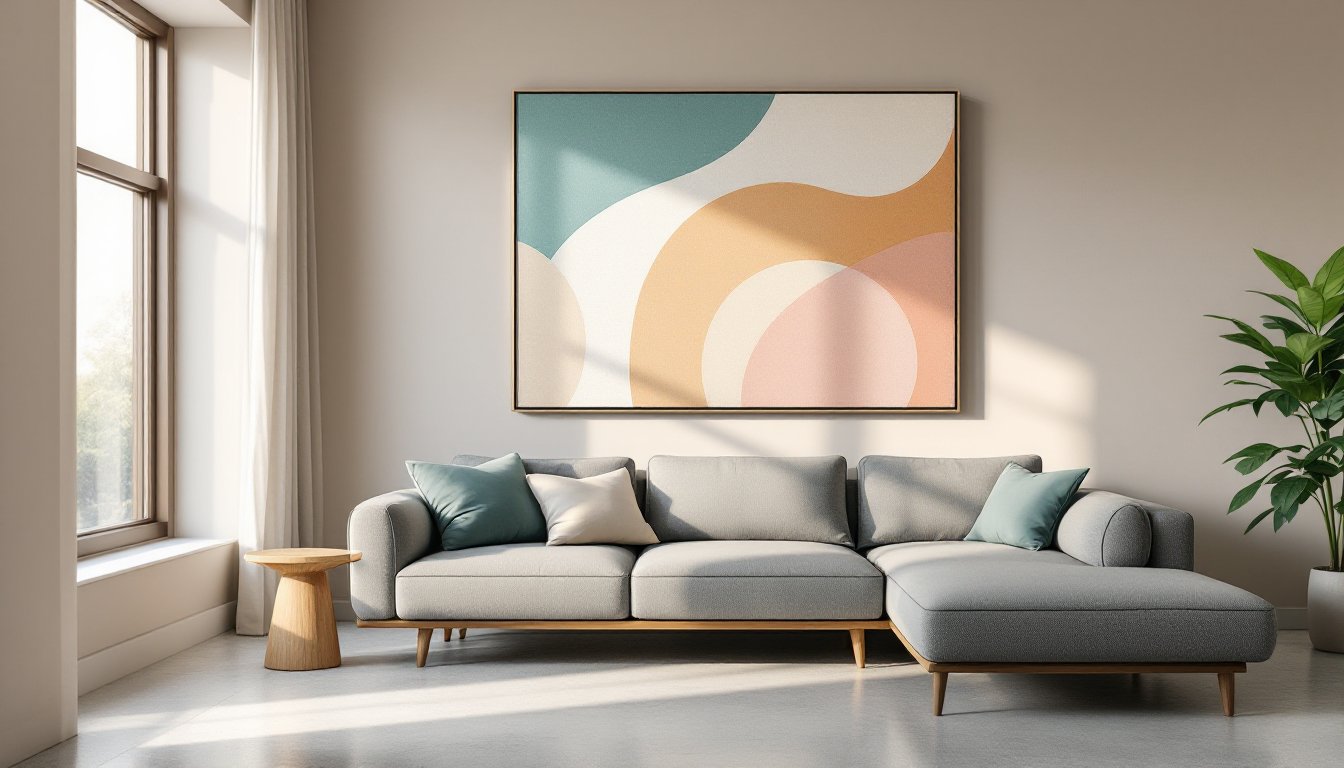
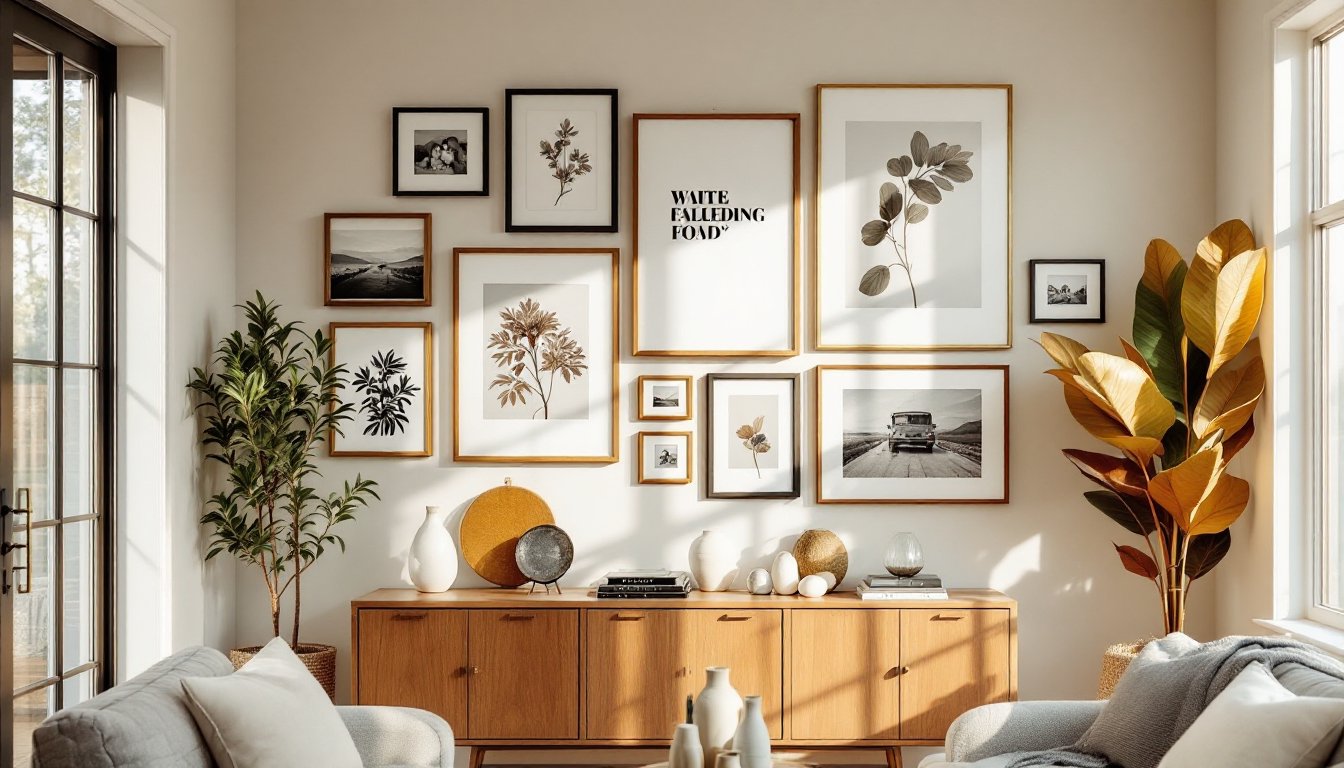
Asymmetrical layouts embrace variation in frame size, color, and orientation. This approach suits eclectic tastes and creates energy, think different-sized frames in mixed finishes surrounding a larger centerpiece. Asymmetrical walls feel collected and intentional rather than matchy-matchy.
The trade-off: asymmetrical layouts require more careful spatial planning. You can’t just measure a grid: you’re composing a visual balance. Frames on the left might include a 24×36-inch art print, a 5×7 photo, and a small object frame, balanced on the right by a 16×20 canvas, a 4×6 frame, and a few smaller pieces. Before drilling holes, you’ll template your entire layout on the wall or floor to visualize spacing and sight lines.
Selecting Frames, Art, and Décor Elements
Frames and artwork are your vocabulary. The choices you make here set the tone for the entire room.
Mixing Frame Styles and Colors
Mixing frame finishes keeps gallery walls modern and collected. A black matte frame beside a natural wood frame beside a thin brass edge creates rhythm without chaos, as long as you have a unifying principle. Common approaches include: sticking to a limited palette (two or three finishes) or using a color that appears in multiple frames to create visual continuity.
Matting matters more than frame finish. A consistent mat color, say, white or cream, across mixed frames ties the arrangement together even if frame styles vary. Modern home design websites often showcase gallery walls where matte finishes on frames create a cohesive look while frame colors vary.
Consider your art and photos too. Black-and-white photography pairs well with colorful abstract prints because the neutrality doesn’t compete. If your living room has warm wood tones, black frames anchor the space: if it’s cooler with grays and whites, lighter frames feel integrated. Avoid default choices: if every frame matches your wall color, the gallery wall floats without purpose. Contrast makes arrangement intentional.
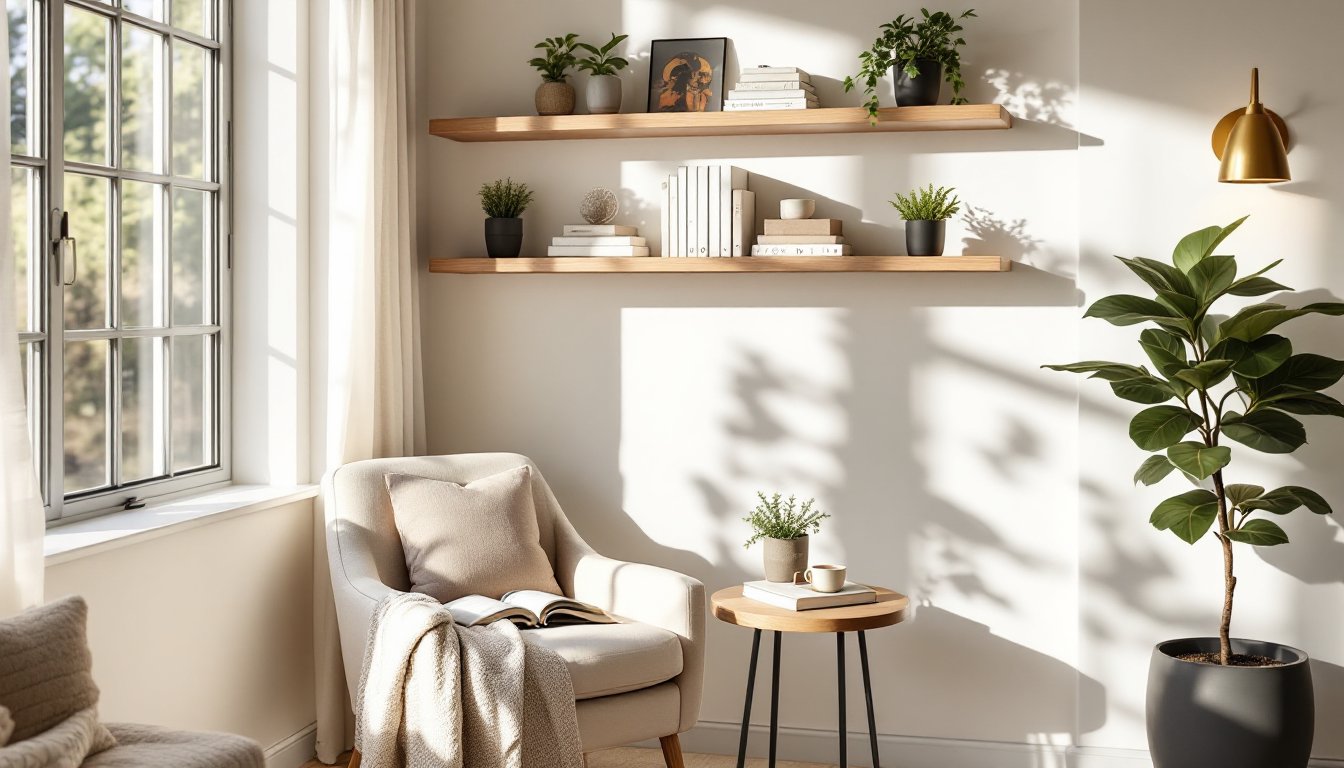
Objects elevate gallery walls beyond flat art. Small objects like woven baskets, sculptural frames, or botanical specimens add dimension. Depth ranges from 3 to 12 inches, so make sure your wall anchors can handle weight. Shadow boxes (frames with interior depth) hold small objects securely. Interior design resources provide inspiration for combining prints and three-dimensional décor elements, showing how depth creates visual interest that photos alone can’t achieve.
Planning Your Layout Before Installation
Measure twice, drill once, this isn’t just a saying: it’s the difference between a gallery wall you love and one you’re patching holes in six months later.
Start by finding your vertical anchor: usually the midpoint of your living room wall or the center of your seating area’s sightline. Mark this lightly with pencil. From there, sketch your arrangement on paper or use the template method: arrange frames on the floor in your desired layout, photograph it, then tape kraft paper cutouts to the wall matching that arrangement. Kraft paper templates take time but eliminate guesswork.
Measure frame heights and widths. For a grid, the math is simple, if frames are 11 inches wide with 3 inches between them, nine frames in a 3×3 grid span 45 inches (11+3+11+3+11 = 39, plus 6 inches for gaps). For asymmetrical layouts, sketch your arrangement to scale on graph paper: each quarter-inch on paper equals one inch on the wall. This reveals spacing issues before you touch the wall.
Consider viewing height. The center of your arrangement should sit at roughly 57 inches from the floor, the average eye level when standing. In a formal living room, center the gallery wall on the sofa back: in casual spaces, it can anchor a console table or sideboard.
Mark where studs run (use a stud finder or knock test if securing heavy frames). Studs accept wall anchors rated for larger loads. Mark each hole location with a light pencil dot before drilling. Double-check spacing with a level and tape measure.
Step-by-Step Installation Tips for Success
Installation separates confident DIYers from frustrated ones. Take your time here.
What you’ll need:
• Picture hangers (appropriate to frame weight, use rated hangers, not guesses)
• Wall anchors (toggle bolts or heavy-duty plastic anchors for drywall)
• Drill with bits (or a hammer for nail hangers)
• Level
• Tape measure
• Pencil
• Safety glasses
Installation steps:
-
Verify stud locations and mark anchor points lightly in pencil. If hanging on drywall without studs, use toggle bolts or rated anchors for frames over 20 pounds.
-
Install hangers into studs when possible. Hangers rated for 50+ pounds hold most frames securely. Nail picture hangers at a slight downward angle (5 degrees) for stability.
-
Measure from the frame’s top to its hanging point on the back (usually 1/3 down from the top). Measure from your anchor point down this distance and mark where the frame will rest. Use a level to verify this mark is horizontal.
-
Hang one frame, step back, and assess spacing relative to adjacent positions. Adjust if needed before installing the next frame.
-
For asymmetrical layouts, work from the center outward. This prevents cascading misalignments.
-
Use command strips or removable hooks only for lightweight frames under 5 pounds. They fail silently with heavier loads.
Wear safety glasses when drilling into walls, drywall dust and debris travel. If using a drill, wear hearing protection to protect your ears during extended work.
Common mistake: assuming all frames hang from the same anchor. Each frame needs its own anchor rated for its weight. A 16×20-inch framed print can weigh 8–12 pounds depending on frame material and glass thickness, never skimp on hardware.
Gallery wall inspiration and installation tips can provide additional visual guidance for hanging techniques and spacing references.